After reading my last post, everyone kept asking me about the magical Arabic lentil soup that was nutritious, great tasting, easy to make, and kid approved. In addition to making the soup, I have found myself cooking several Arabic dishes lately, because so many of them have these wonderful qualities. Sometimes I go through phases of cooking one type of cuisine. Currently I am in my Arabic phase. I’m finding Arabic food is the perfect blend of the spices of the east and the flavors of the west.
My first cooking phase was Indian food. As much as I loved the amazing spicy flavors and healthy veggies I was cooking, I was annoyed at all the steps and subsequent work that went in to making just one dish. All the chopping and mincing was even more difficult with two toddlers running around. I tried some shortcuts such as freezing 1 tablespoon portions of garlic and ginger pastes in an ice tray, so I could just pop them into the dish I was making, or plan my meals ahead so I could soak, chop, and marinate in advance. But for a tired unorganized spontaneous mother of two boys, advance planning did not always happen. So I figured it was time to switch cuisines.
I then moved on to western food which was easier to prepare, but often lacked the bold flavors my palette was accustomed to. I generally like things on the spicier side, and often in western cuisine there just wasn’t enough…spice. Sometimes the only seasoning would be salt and pepper and maybe lemon zest. So I found myself constantly altering recipes by either tripling the garlic, grating in more ginger, or adding cayenne or cumin or even Sri Racha.
Then I discovered cooking Arabic food. Although I had been eating it for years, I never made any Arabic dishes at home. I soon found out it is often easy to prepare, easy to clean up as many dishes can be cooked in one pot, quite healthy, and very tasty as it has enough spices to add a lot of flavor but not a lot of heat to overwhelm the ingredients.
So here is my variation of Arabic lentil soup. I like it heavy on the garlic and spices and veggies, but you can personalize it to your own taste. My kids especially like eating the soup with a dollup of yogurt and sprinkle of zaatar on top, as well as baked pita bread (recipe also below) to dip inside. Feel free to make your own version and let me know how yours turns out!
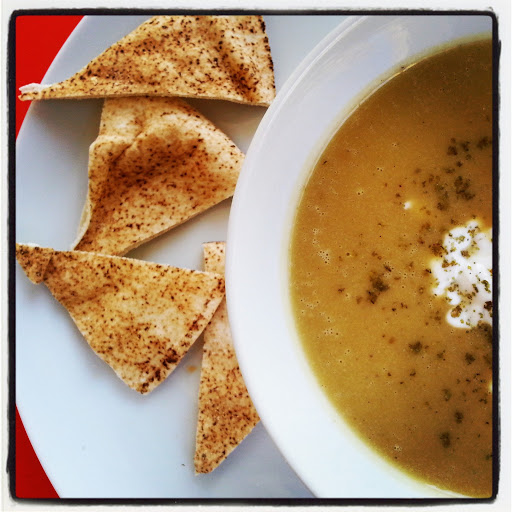
Arabic Lentil Soup and Baked Pita Chips
INGREDIENTS:
1 large onion, chopped
1 tablespoon garlic, minced
2 large carrots, peeled and chopped
1 green bell pepper, deseeded and chopped
Salt, to taste
1-3 teaspoon Arabic Spices, to taste. (You can find these in the spices section of the supermarket labeled “Arabic Spices”or “Arabic Masala”. Or check at your local Middle Eastern grocer.)
1 Maggi Chicken or Vegetable stock cube (You can leave this out but it really tastes better if you add it in!)
2 teaspoons Olive oil
1 cup masoor daal, soaked. (Soak if possible, but not necessary. It does shorten the cooking time. See picture below for type of masoor daal to use.)
 |
| Masoor Daal |
SOUP PREPARATION:
1. In a large pot fry onion in olive oil until softened and lightly browned. Add garlic and fry for a couple minutes. Add in carrot, bell pepper, daal, salt, and Arabic spices and saute for a few minutes.
2. Add in about 8 cups of water and bring to boil. Keep cooking until daal is cooked and vegetables are softened. Add more water as needed. Add in Maggi stock cube and make sure is dissolved.
3. After all is cooked, blend with stick blender until smooth. Check salt.
Serves 3-4 people. Serve with Baked Pita Chips (Recipe below) or bread sticks or sliced crusty baguette.
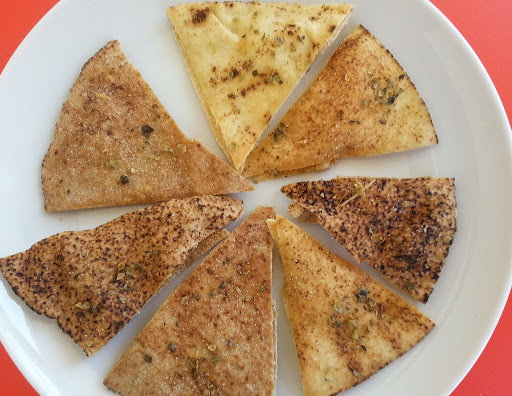
Baked Pita Chips
INGREDIENTS:
5 slices Arabic bread
1 teaspoon Oregano
½ teaspoon garlic powder
Salt, to taste
Olive oil
PREPARATION:
1. Cut bread into slices and arrange on baking sheet.
2. Brush with olive oil.
3. Sprinkle with oregano, garlic powder, and salt.
4. Bake in oven at 190C for 5 minutes or until crispy. Watch the oven as the pita crisps and browns pretty quickly.