In parenting, some moments you just want to last forever. And others you just want to forget. The funny thing is that the line between the two is often blurred.
This week my two little boys made me this beautiful heart “sculpture” with their toy cars while arguing over who loved me more. I must say I was enjoying the conversation. At least initially. It went something like this:
 – I love mommy.
– No I love mommy more!
– Well I love mommy’s hair. It’s so pretty!
– Well I love mommy’s tummy. It’s sooo soft. Just like a big pillow!
Hmmm…not the best comparison I thought, but I didn’t want to lose this loving moment we were sharing. So I justified it to myself…I mean, who doesn’t like a nice comfy pillow?
But the conversation was on a downward spiral and there was nothing I could do to stop it. It completely hit bottom when my younger one chimed in, “Awww I love it! It looks like there is a baby in mommy’s tummy!”.
And just like that, happy mommy time was officially over.
Actually I am thankful for my little guy’s astute observation of my waistline, for he forced me to realize I need to get back to my healthy eating habits which are currently on hiatus thanks to summer vacation.
Every summer we come to California to see my family and I always go overboard with all the yummy food. Vacation for me means no schedule and over indulging in everything. (Mint chocolate chip ice cream at 1am? Why yes I will have 3 scoops please!) In just 4 weeks I have seen the scale steadily creep higher and higher and my tummy get bigger and dare I say, more pillow-like.
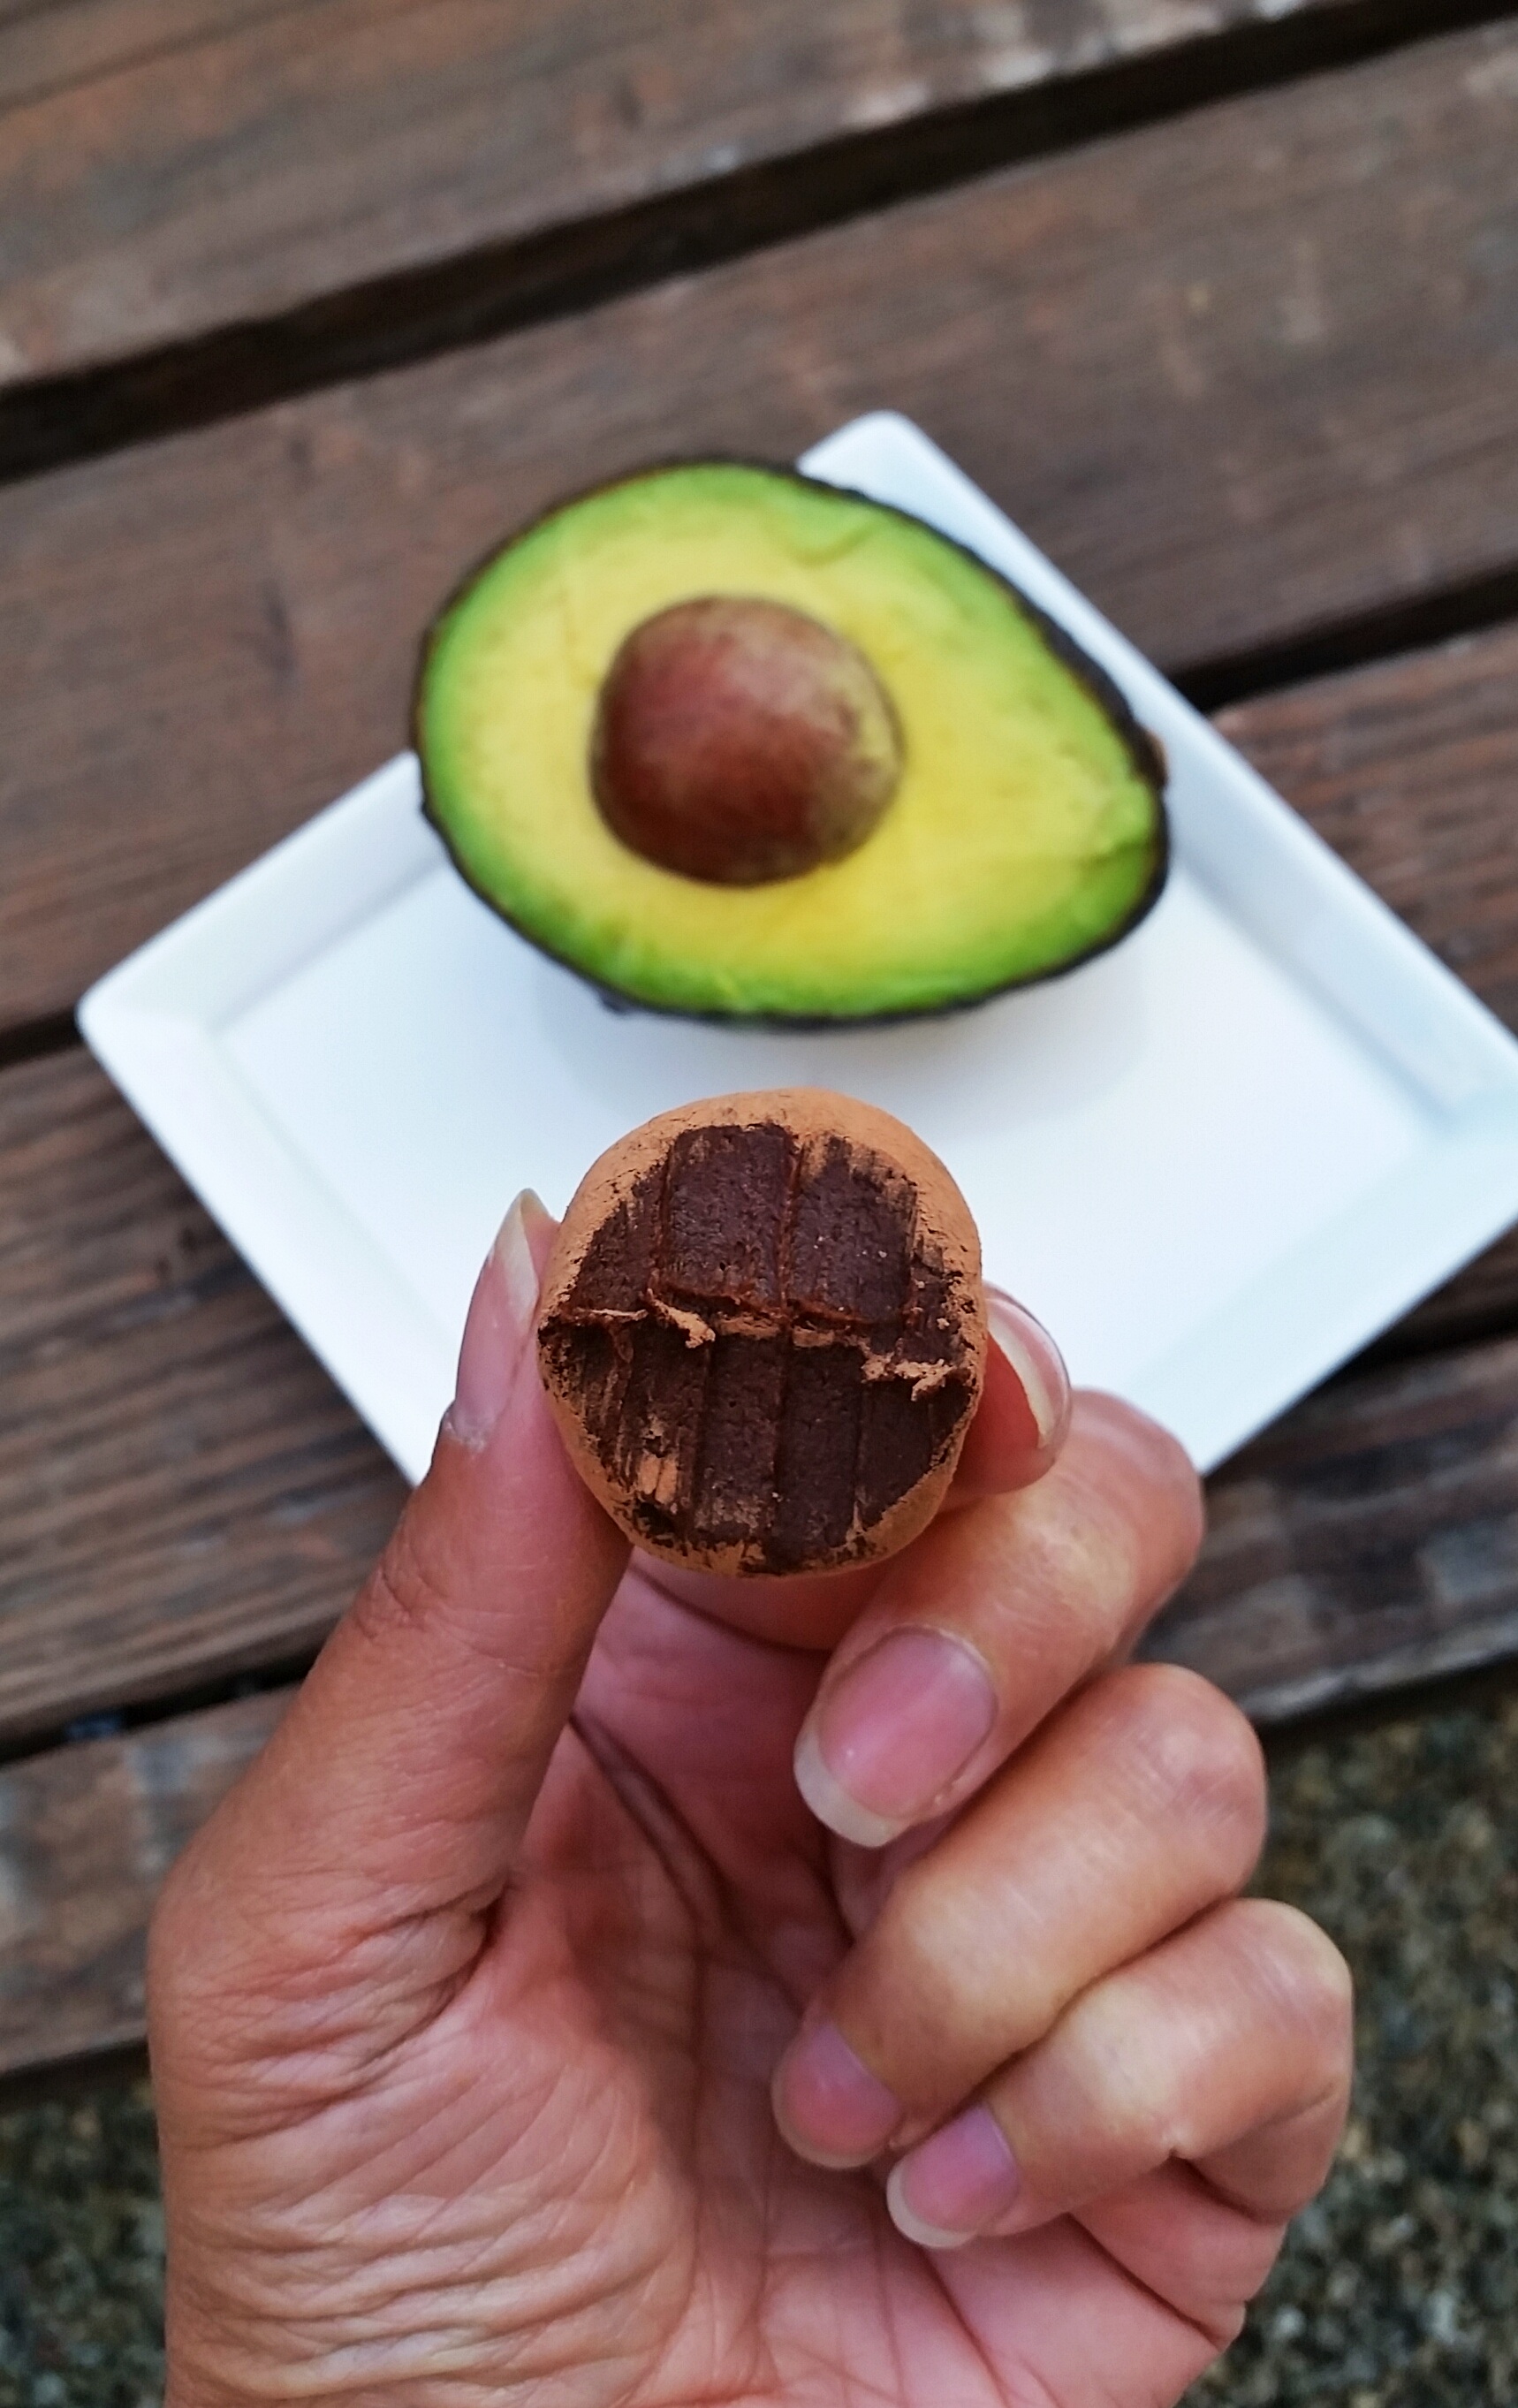
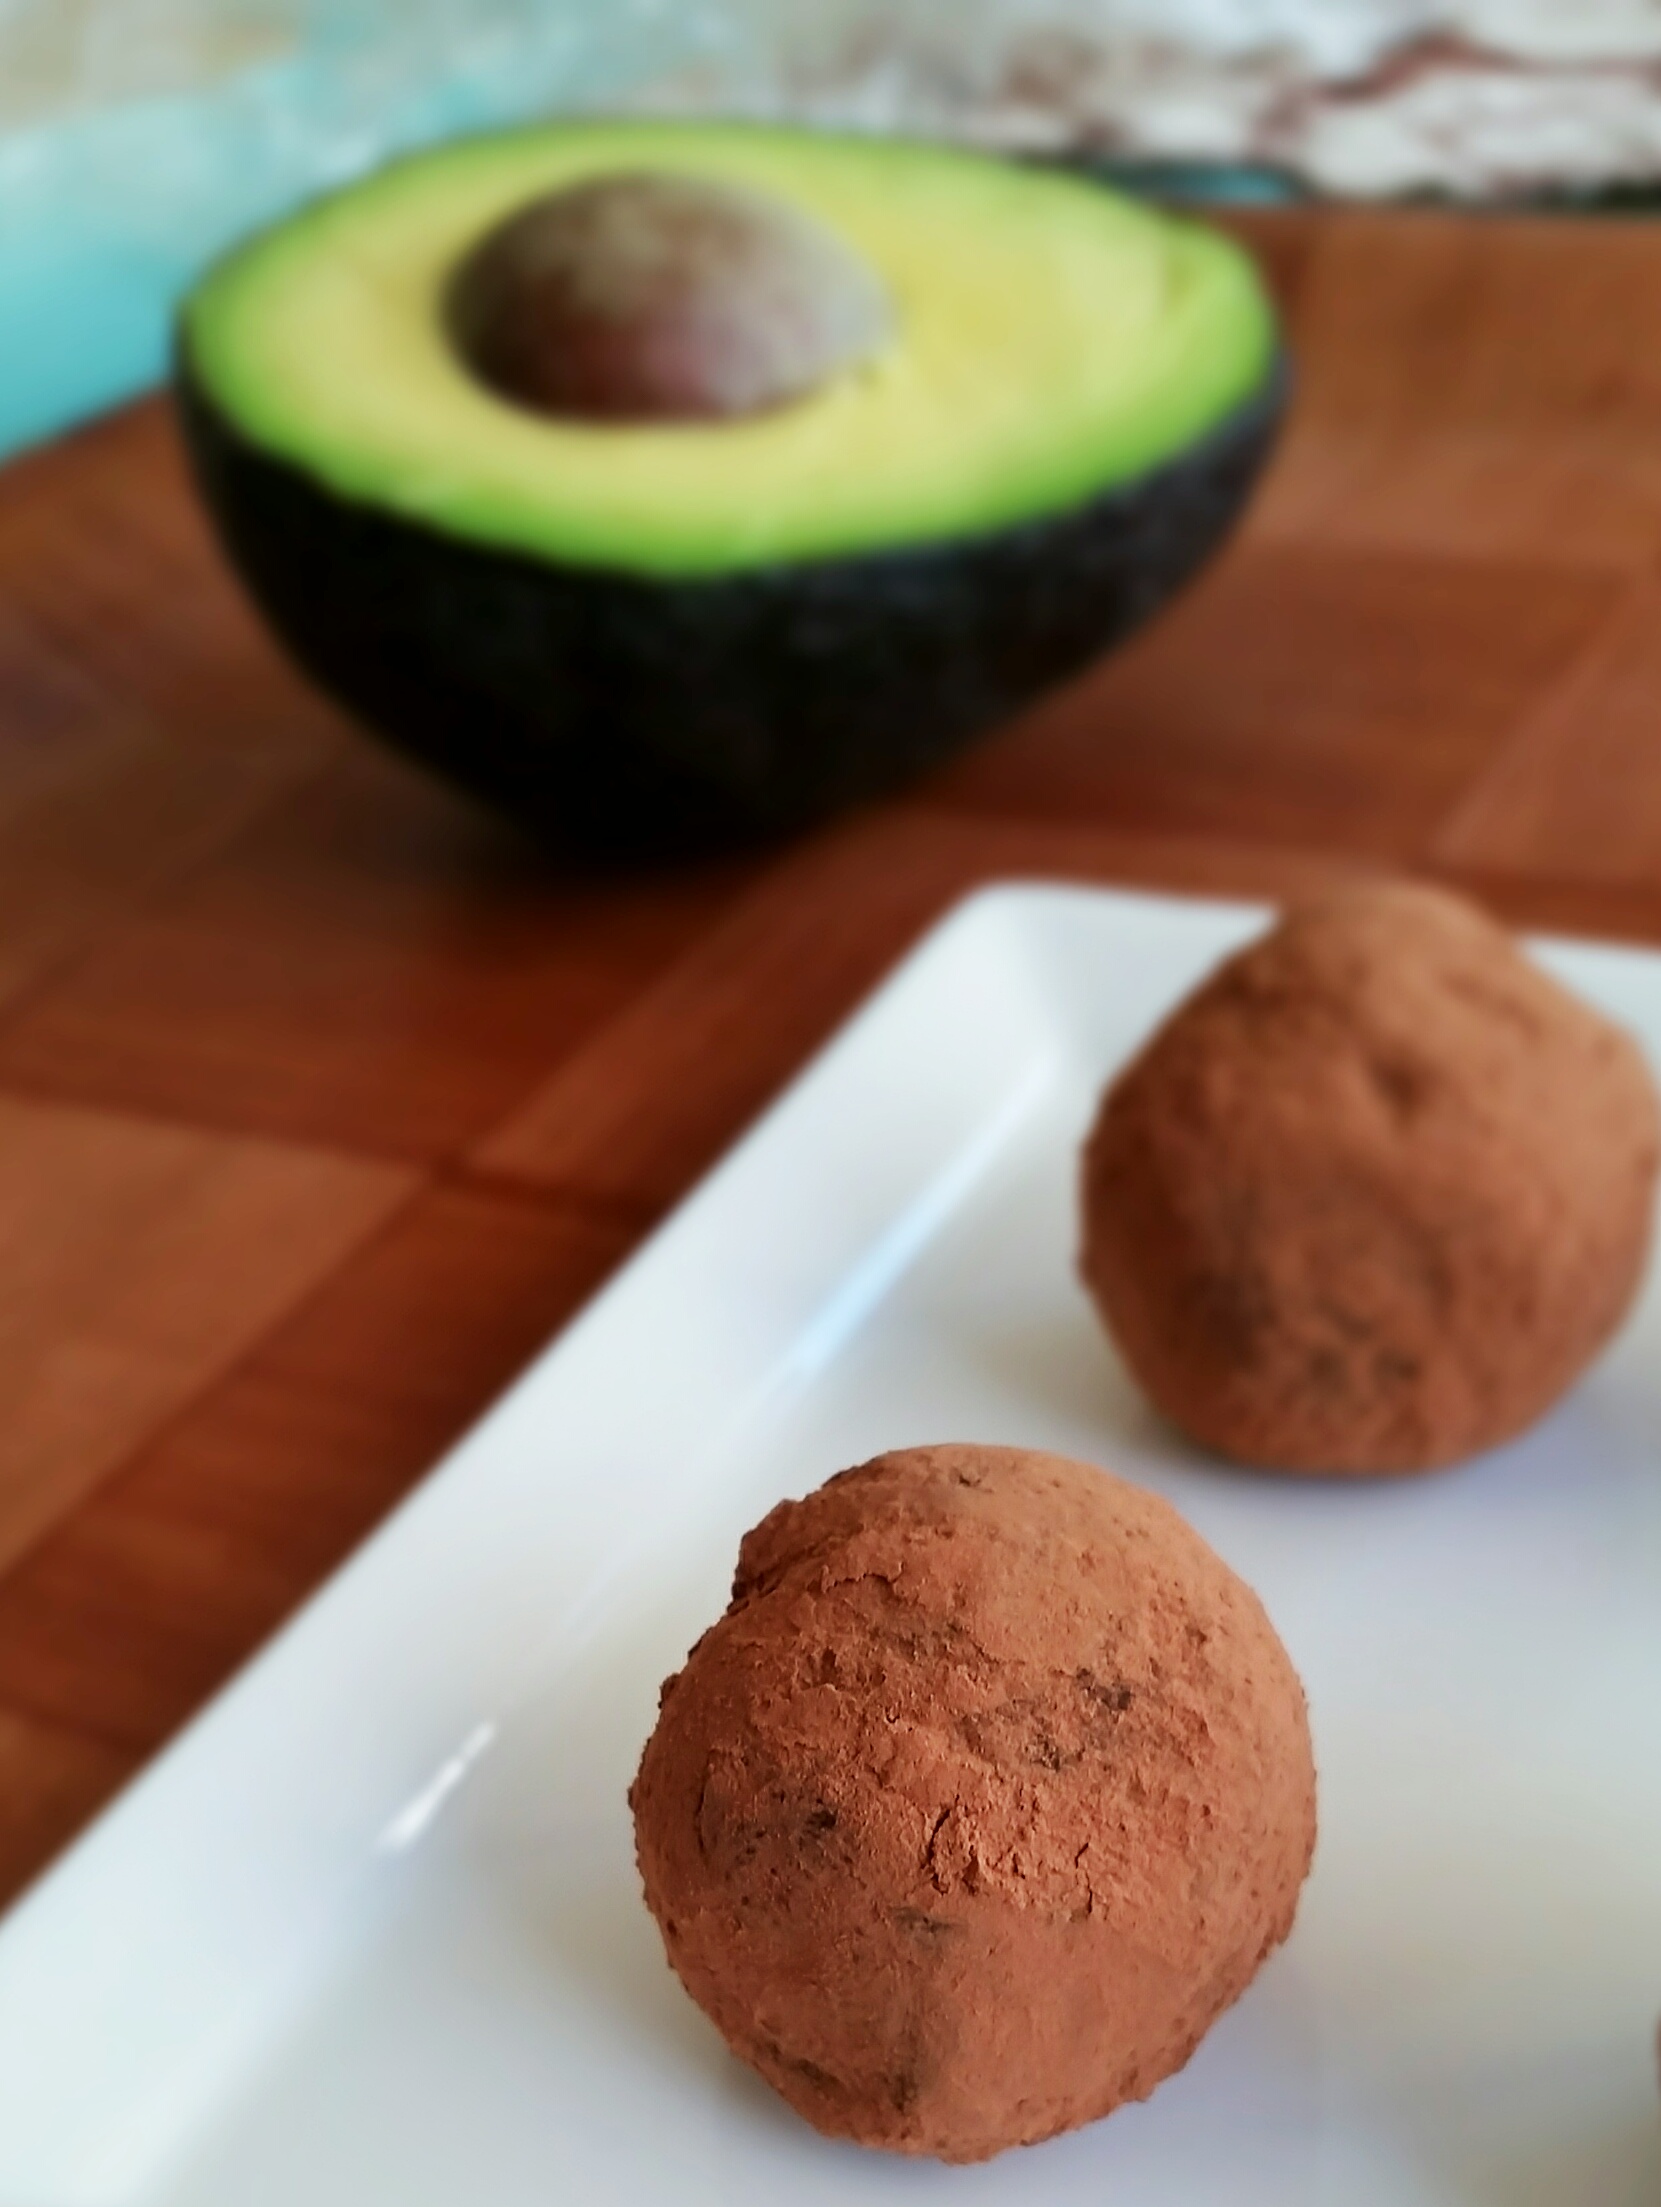
So I decided to compromise. I will add more vegetables and make healthy choices but not deprive myself. And that is when I discovered avocado chocolate truffles. Yes, that is correct… Avocado Chocolate Truffles! All the nutrients in avocados plus all the antioxidants in dark chocolate combine to make a decadent and arguably healthy, treat. Although I won’t be on vacation forever, these truffles let me feel like I always am!
CHOCOLATE AVOCADO TRUFFLES
 INGREDIENTS:
6-8 oz (Almost 1 cup) semisweet chocolate chips (or use dark chocolate if you want less sweet)
½ cup mashed avocado (about 1 small avocado)
½ teaspoon vanilla extract
½ cup cocoa powder, for coating. *Substitute any other coating such as ground almonds or pistachios, coconut or chocolate sprinkles
METHOD:
- Melt chocolate on stovetop or in microwave. Be careful not to burn.
- Mash avocado and vanilla with fork or handheld stick blender until smooth. (I prefer to use the hand blender so it is completely smooth)
- Mix avocado mixture and chocolate together with spatula and cool in refrigerator for at least 30 minutes or until firm.
- Scoop out bite size pieces on baking sheet lined with parchment paper. Roll each piece into a ball and drop into bowl of cocoa powder. Roll around to coat. ( Instead of cocoa powder, you can use shredded coconut or chopped pistachios, rainbow sprinkles or anything you like.) Store in the refrigerator, but you can eat them at room temperature.
Pantry Diva Notes:
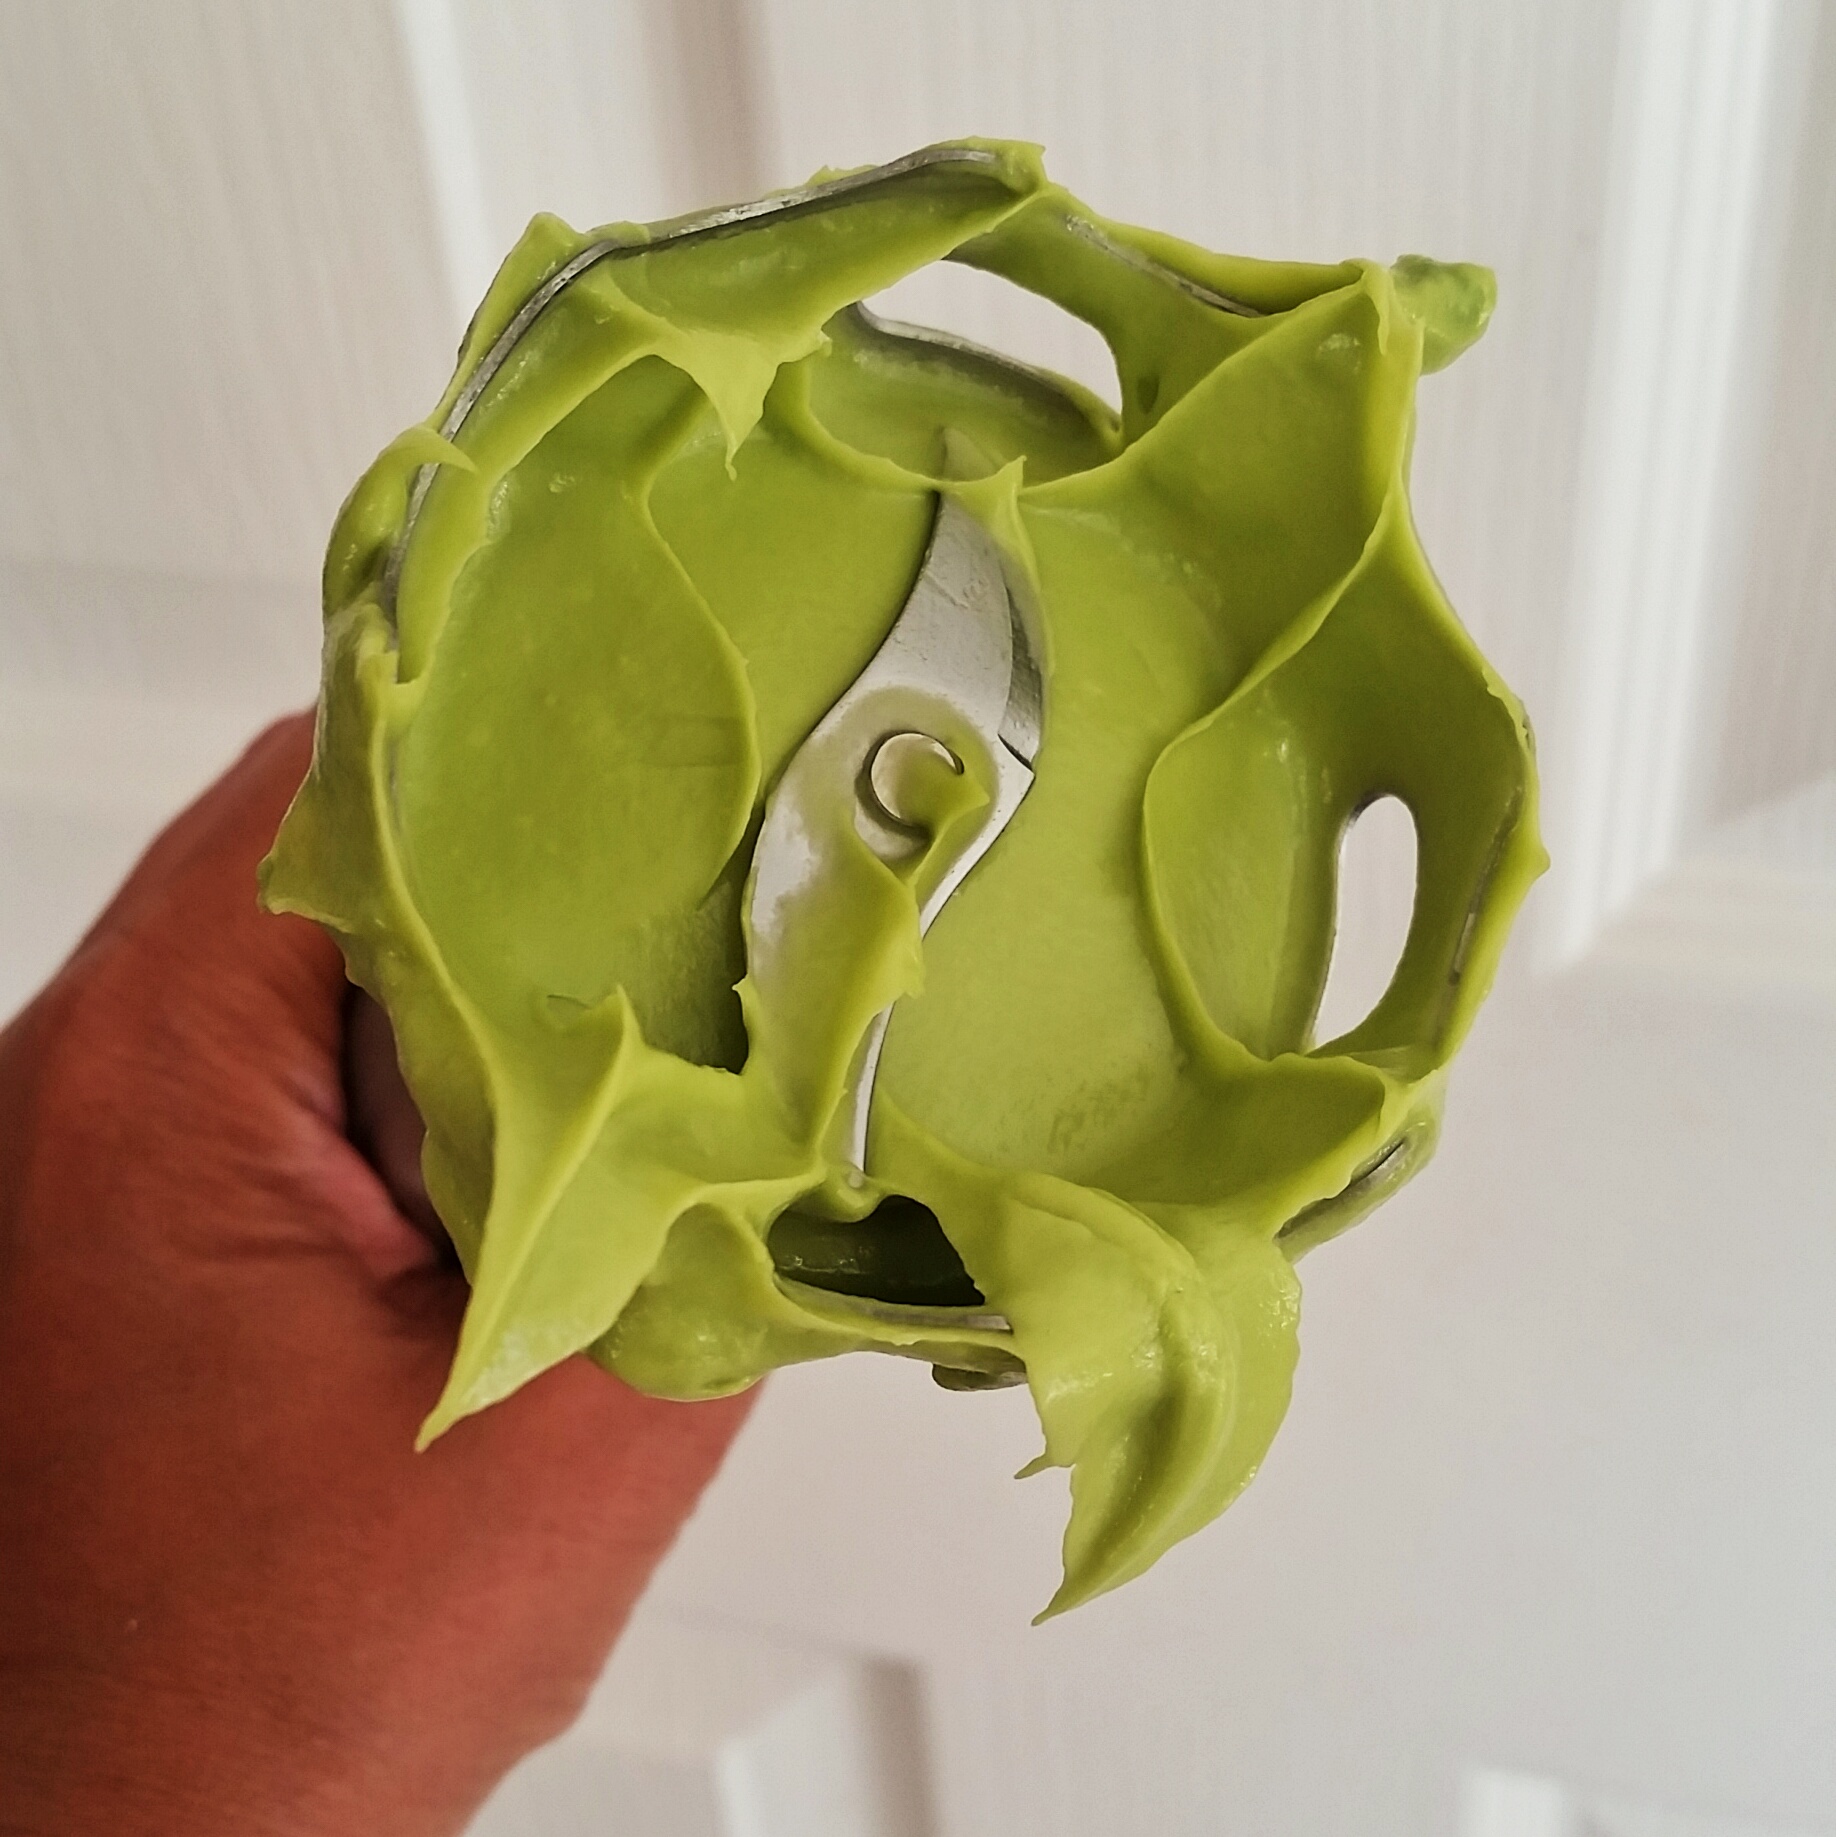
Use a handheld blender to get the avocado really smooth
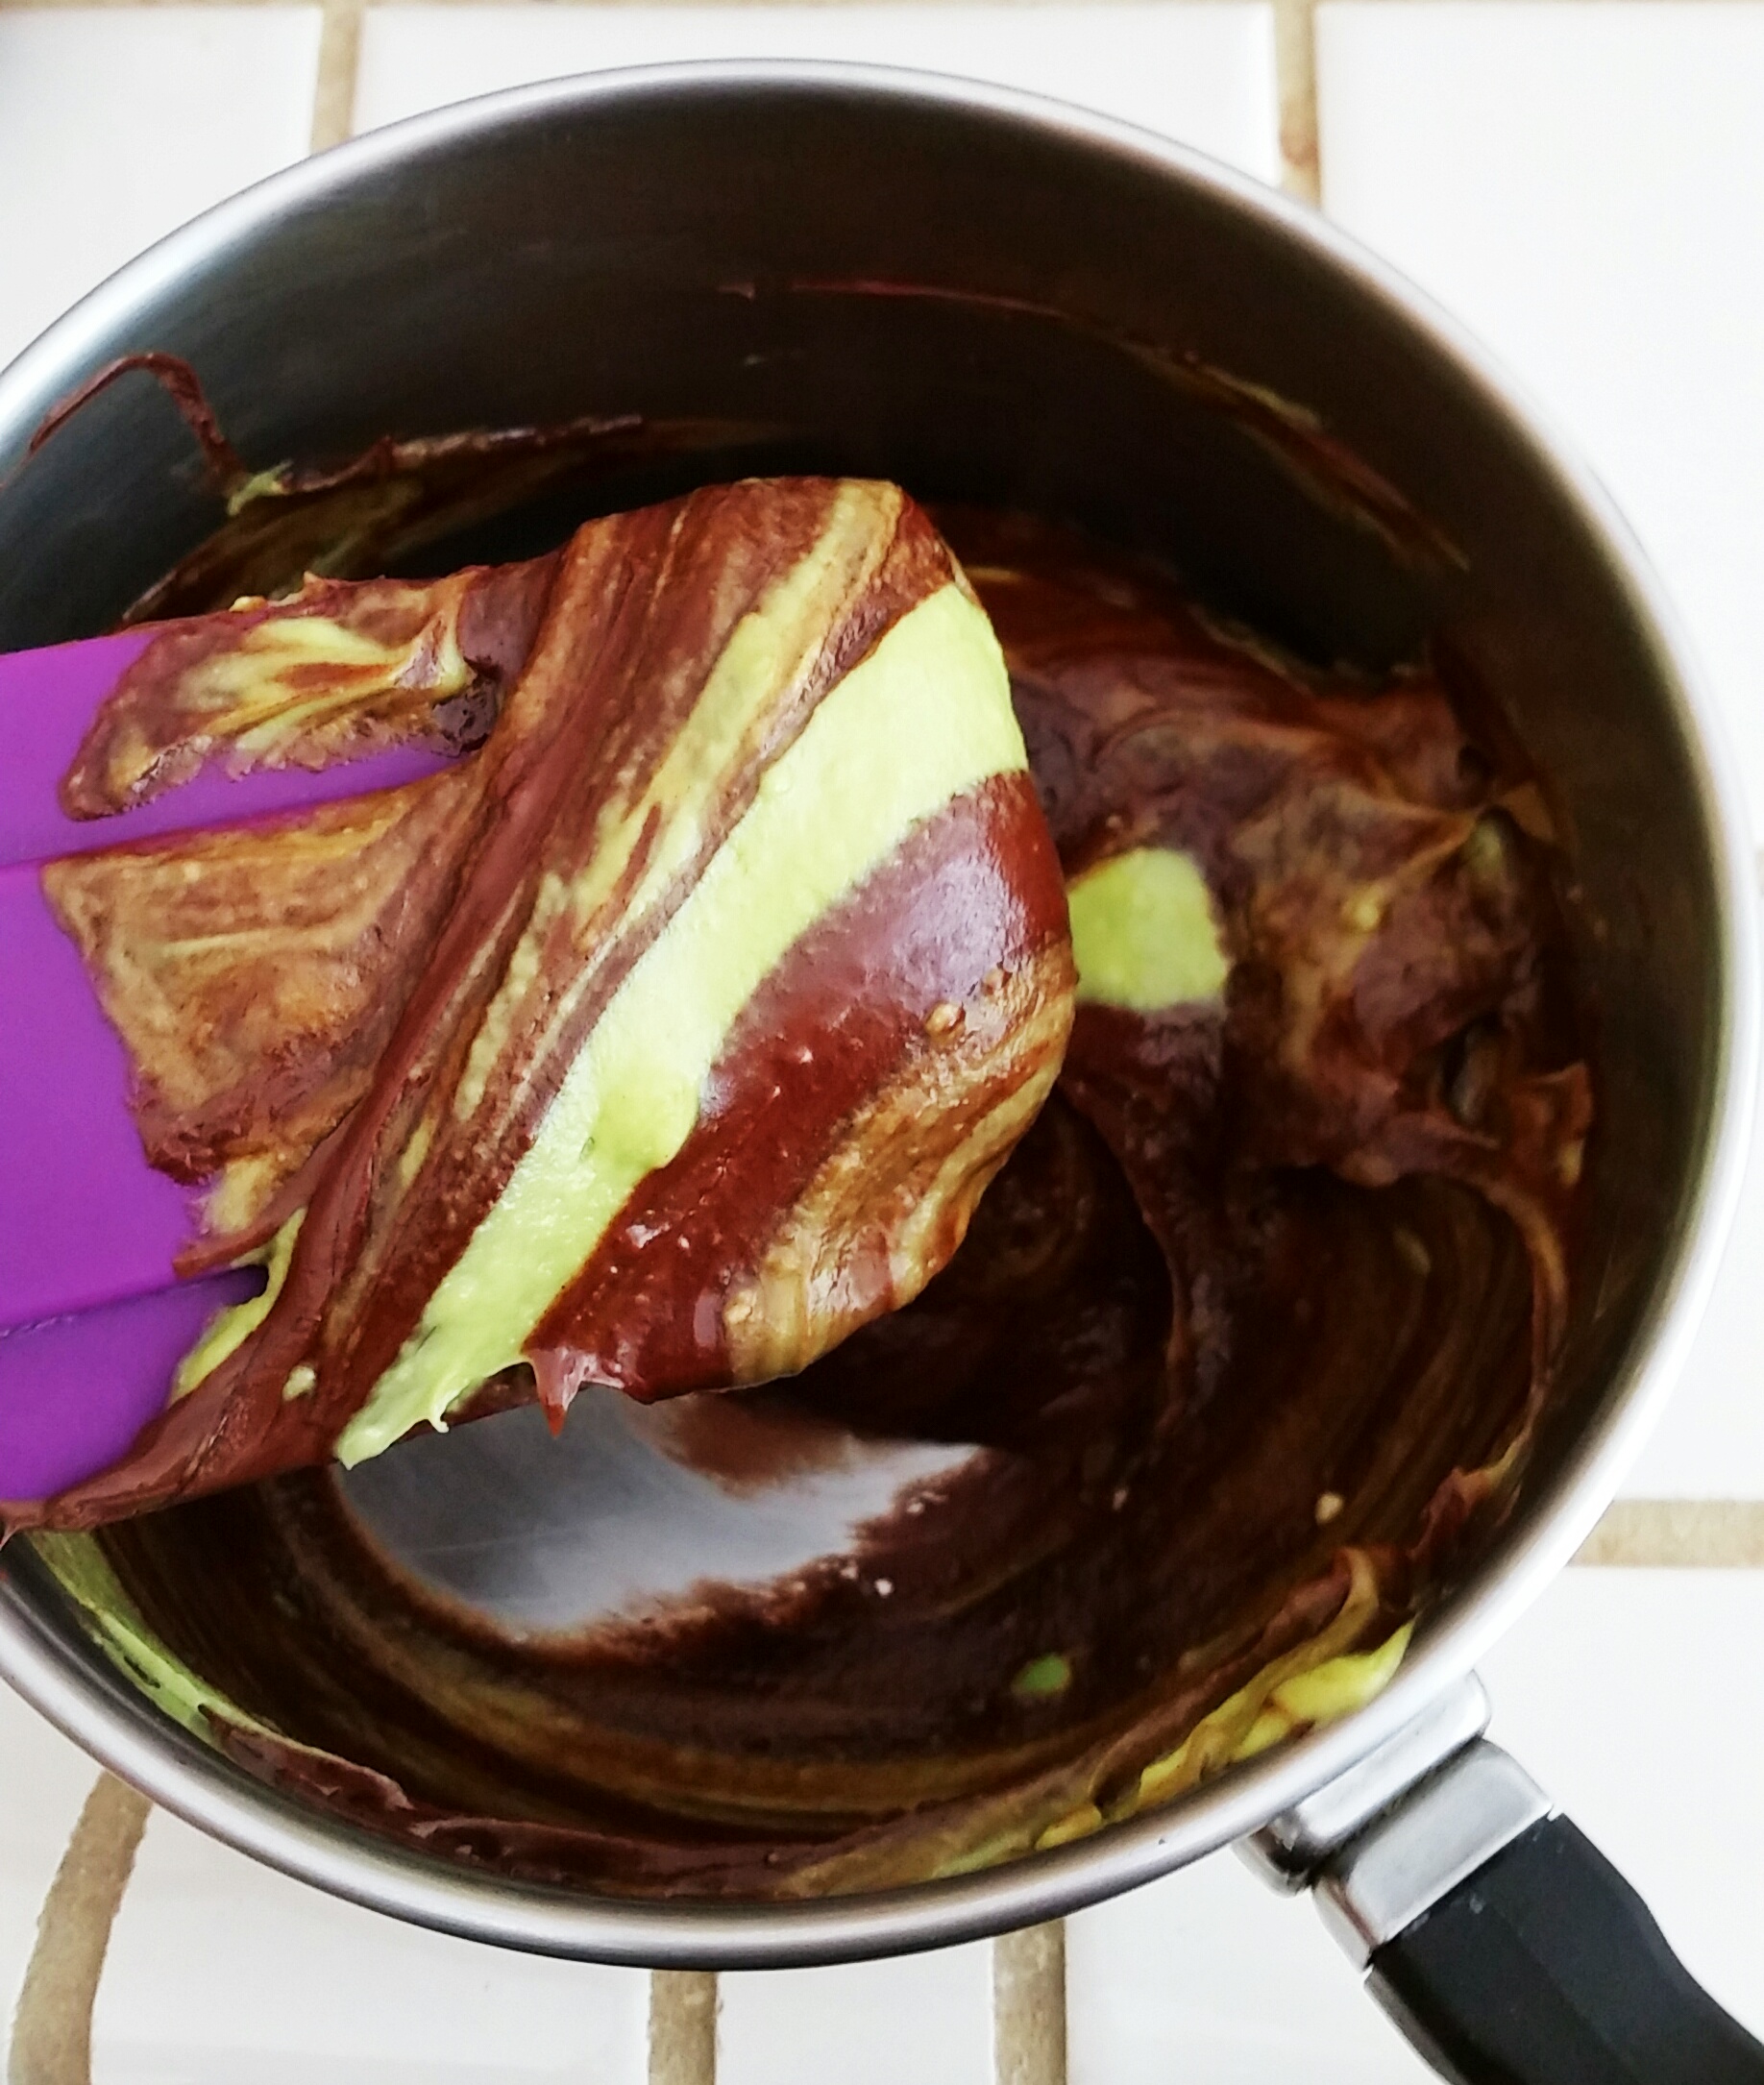
Mix the avocado, vanilla, and chocolate well before chilling in refrigerator.
**By the way, these are super easy to make and fun to make with the kids! Just try not to eat them all at once!
Recipe inspired by the Detoxinista
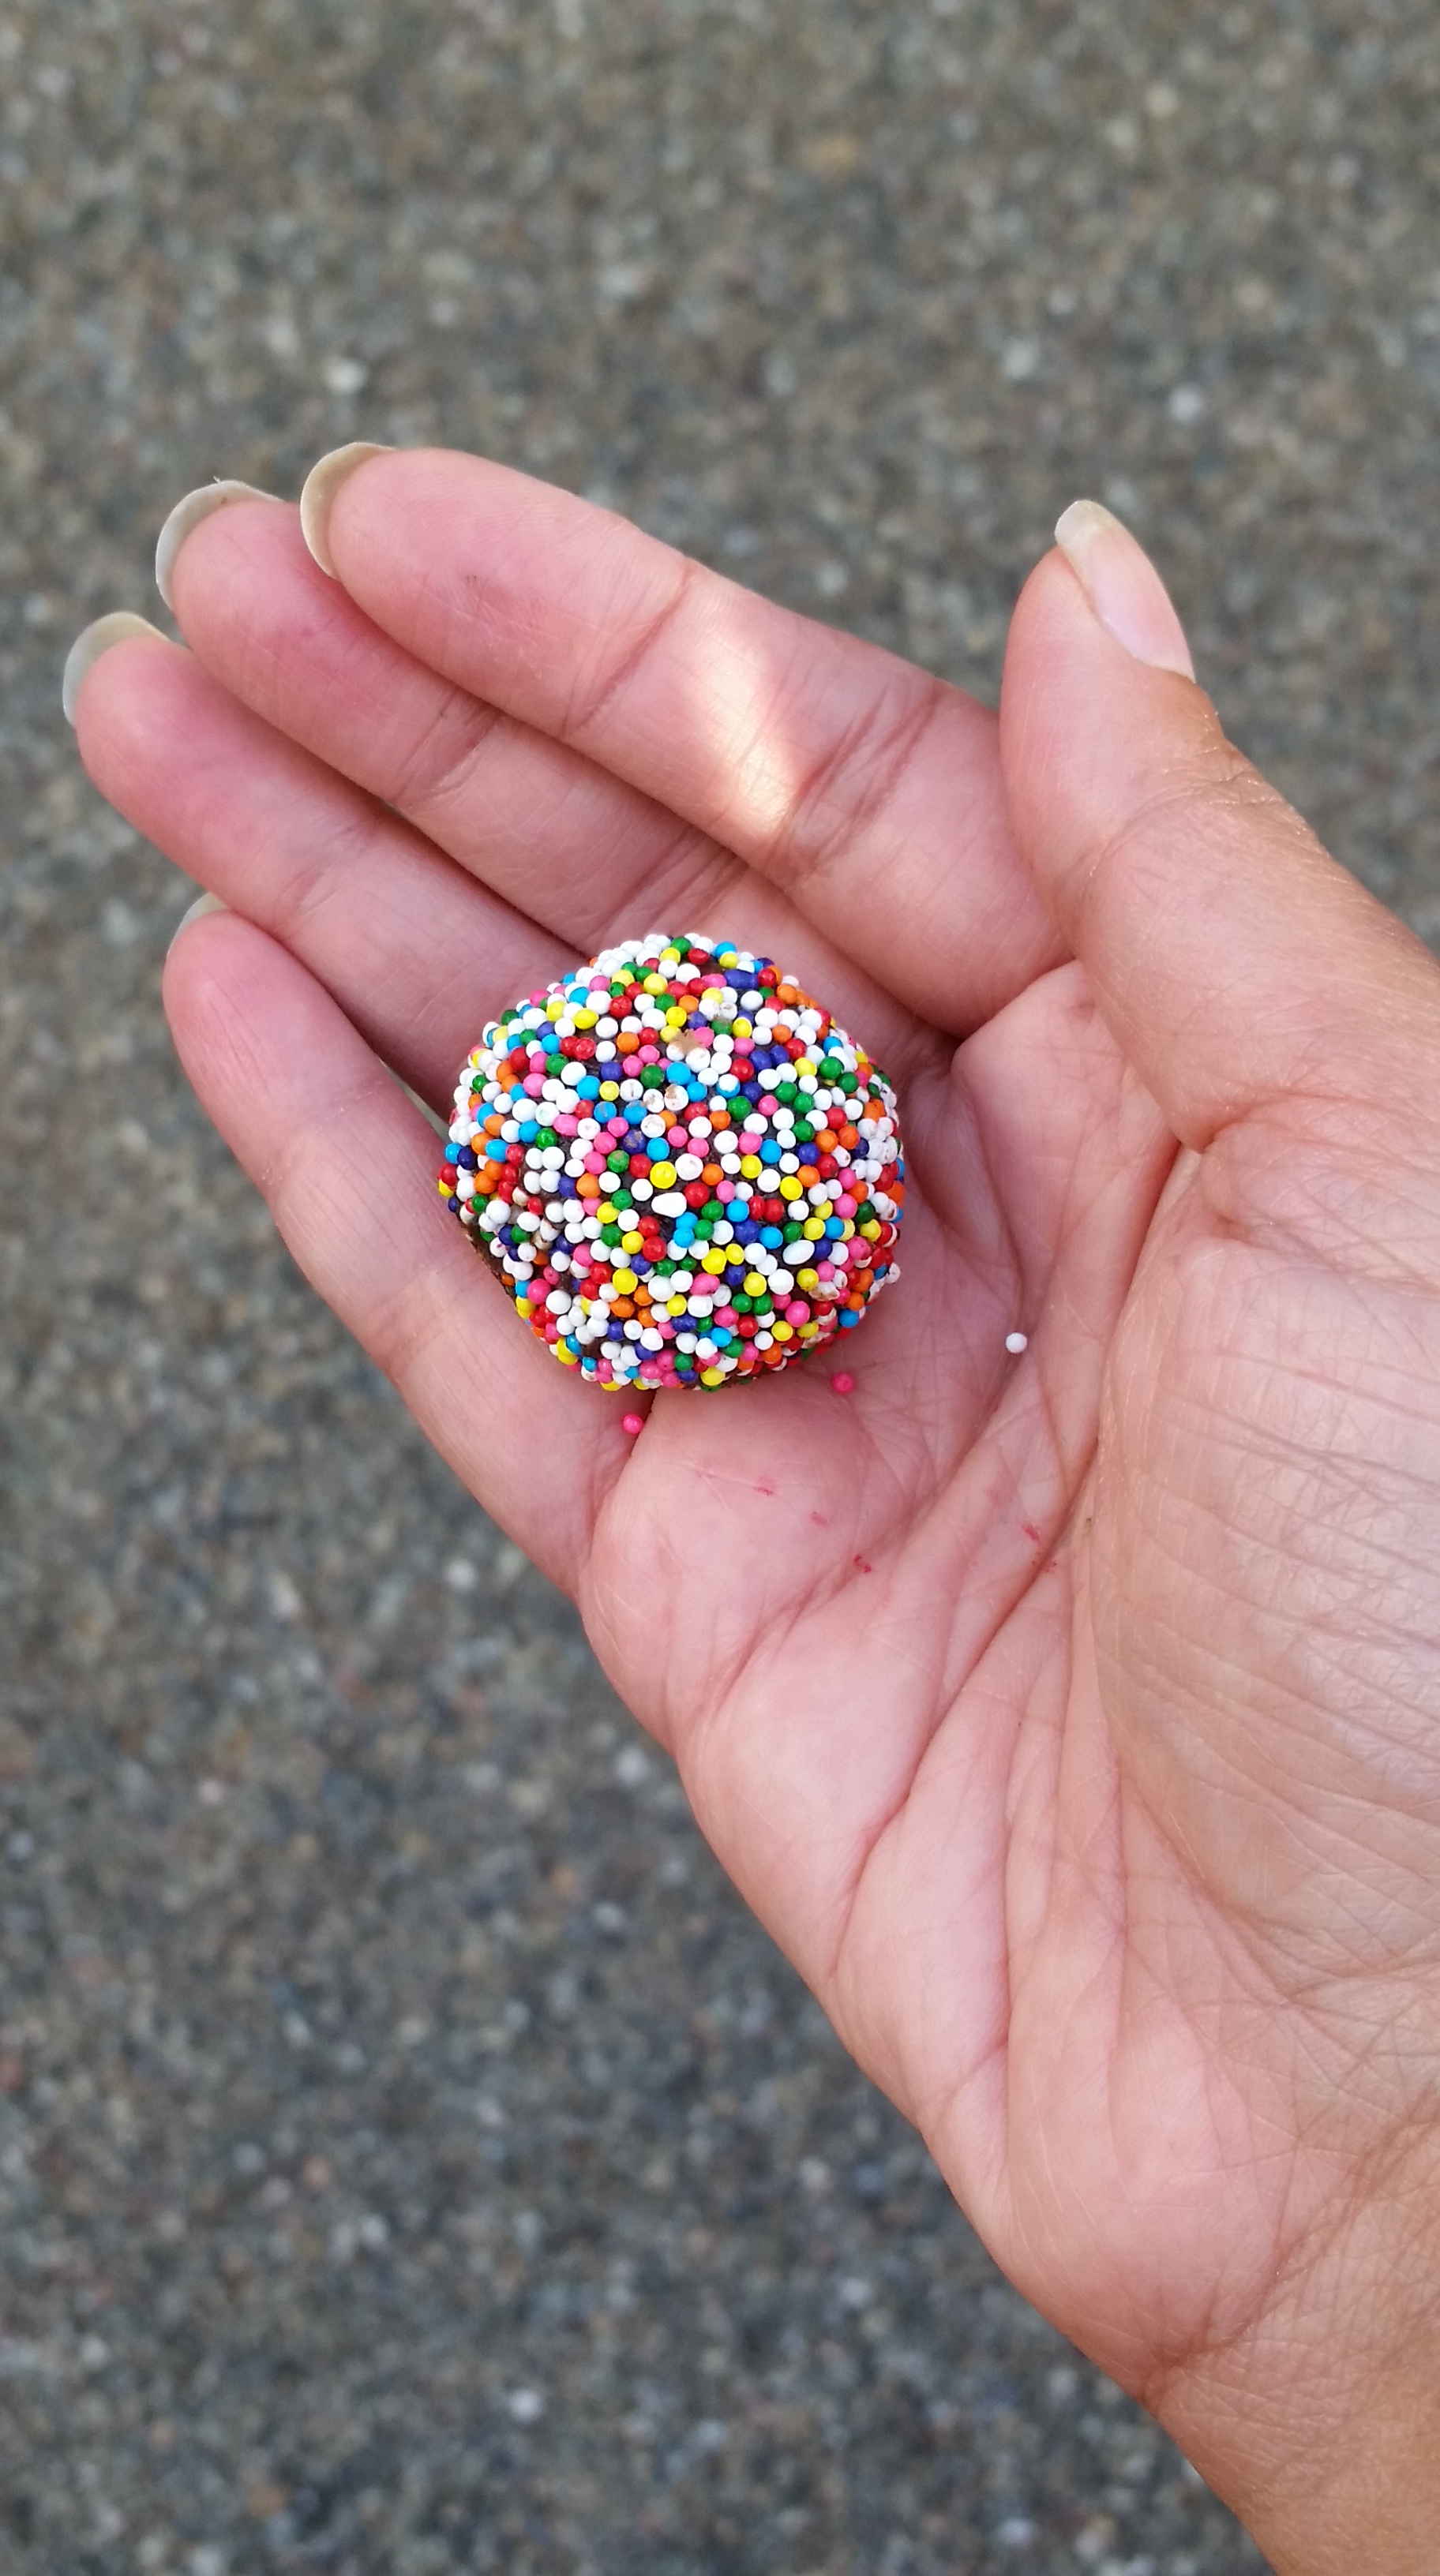
Rolled a few truffles in rainbow sprinkles which were a big hit for the kids.